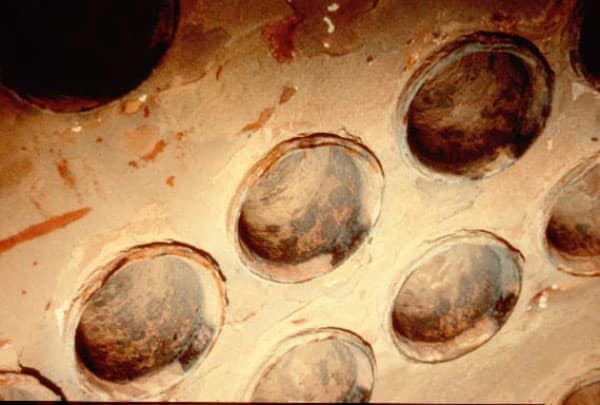
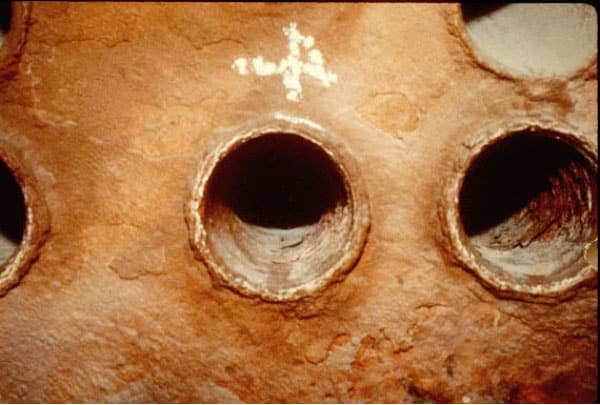
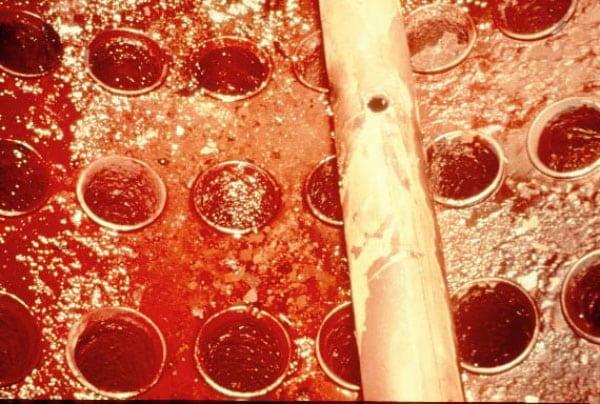
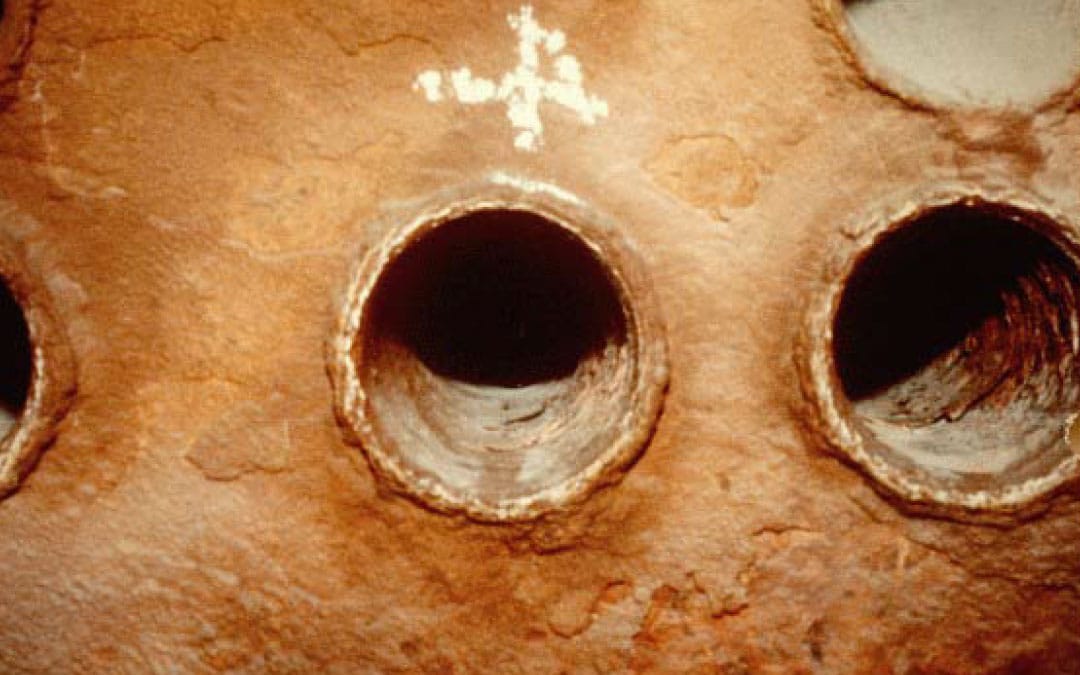
These deposits can be caused by improper product application, lack of blow down, softener failure, low alkalinity, iron contamination, return line corrosion by-products or process contamination. Your ability to rapidly identify the problem area or areas from a field determination of the deposit could either save the account where it is an existing customer, or gain a new account.
Therefore, the ability to determine the constituents of the deposit on-site can allow you to;
- Calm an alarmed customer by identifying the problem area and recommending a means of correcting the problem.
- Identify your competitor’s mistake and capitalize on the problem to gain an account, while the boiler deposit is still fresh in the customer’s mind.
Field Deposit Determination Procedure:
- Categorize the deposit in one of the following areas:
- Scale
- Sludge
- Metal Oxide
- Complex Sodium Metal Silicates
- Organic (oil, lignin/tannin, dyes, etc.)
Scale deposits will appear to be fairly smooth-surfaced to the eye, they will have a generally uniform coat on most of the waterside surfaces (heaviest at high temperature zones), and will generally be very hard and dense. The usual causes for the formation of a scale deposit are; no chemical or pretreatment equipment on the system and exceeding the solubility limits (insufficient blow down or excessively high chemical residuals).

- Low Alkalinity
- Insufficient dispersant level
- Incorrect dispersant selection (wrong product)
- Lack of blow down
- Erratic control of boiler water parameters, or all of the above.


Organics come from oil, lignin/tannin, unclarified surface water, and process contamination. It is usually lumped in with the sludge deposits and is caused by the introduction of low quality water to the boiler. Organics will form a heavy sludge that impedes boiler circulation. The proper use of dispersants, increased blow down and maintaining in excess of 250 ppm as Hydroxyl Alkalinity can control this condition.
Identifying Deposit Constituents:
- Note the Appearance of the Deposit
- Sludge deposits range from scale like deposits to agglomerated sludge masses with irregular surfaces.
- Where a dispersant program is used, a sludge deposit can be deceptive to the eye. The dispersant will suspend the sludge which will result in a smoother uniform deposit, very similar to a scale.
- The key to distinguishing the different type of deposit here is the lower deposit density and periodic irregularities coupled with layering.
- Sludge deposits are typically calcium phosphates, iron oxide based sludge, magnesium phosphate, magnesium hydroxide and magnesium silicate.
- Analysis of Deposit
- Take a small piece of the deposit and place it in a flask. Add concentrated Hydrochloric Acid to the deposit. If a yellow color develops, iron is present. If a green color develops, copper is present. Strong effervescence (foam) indicates that carbonates are present. If strong effervescence occurs, note the sample size before and after the HCl was added. This can give a general idea as to what percentage of the deposit is carbonate based.
- Take another sample of the deposit and add a dilute HCl (1.0 Normal or less). If a rotten egg odor is noticed, sulfates or sulfides are present. Now note the color of the sample of deposit. If the sample was white before it went into the acid solution, the deposit probably contains calcium sulfate. If the sample was black, the deposit is probably iron sulfide.
- Add Nitric Acid to another deposit sample. Then add the Molybdate reagent from the phosphate test. A blue color indicates the presence of phosphate. Note; over feed of a phosphate in this case will usually create a white powdery deposit, while phosphate, complexes will be grayish.
- Take a fresh sample and crush it as best you can. Use 1 gram (approximately the size of the large spoon used for the acid starch reagent) of the sample and place it in concentrated Hydrochloric Acid. This could take a few hours. If over 75% of the sample dissolves, continue on. If the largest portion of the sample does not dissolve, then silicate complexes are present and a detailed lab analysis will have to be run.
- Note: The tenacity of the scale/deposit can be determined by how much time it takes to dissolve the scale/deposit in the acid solution.
- Filter the liquid from Step d. with #41 filter paper. Take 1 ml of this filtered liquid and add it to 99 ml of distilled water.
- Test this solution using the standard tests in your field test kit. Test for; iron, magnesium hardness, calcium hardness, orthophosphate, sulfate, and copper. If the test results are too high for the test you are using, you will have to dilute the sample until the results can register on your test. Dilution should be done in steps of 10 ml of solution to be tested added to 90 ml of distilled water. This changes the factor by 10 with each dilution.
- This method will give you the predominant constituents of the deposit in the ratio that they are present in the scale/deposit.
Integrate the results to determine the make up of the deposit. Effervescence and calcium means calcium carbonate. With sulfate, this deposit is calcium sulfate. High phosphate means sludge.
Determining the deposit and how it was formed, allow you to determine what occurred between the last equipment opening and the present. Which in turn, allows for the formation of a plan to correct the problem?
